The Formation Number Is Not a Map
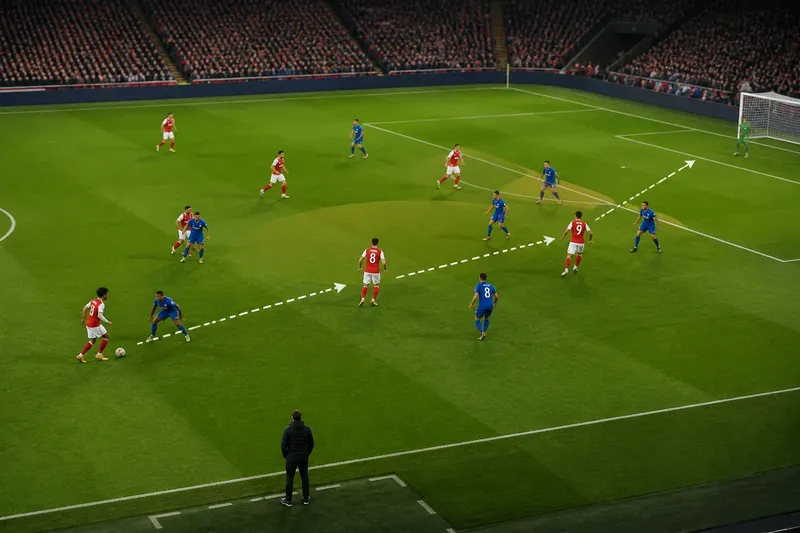
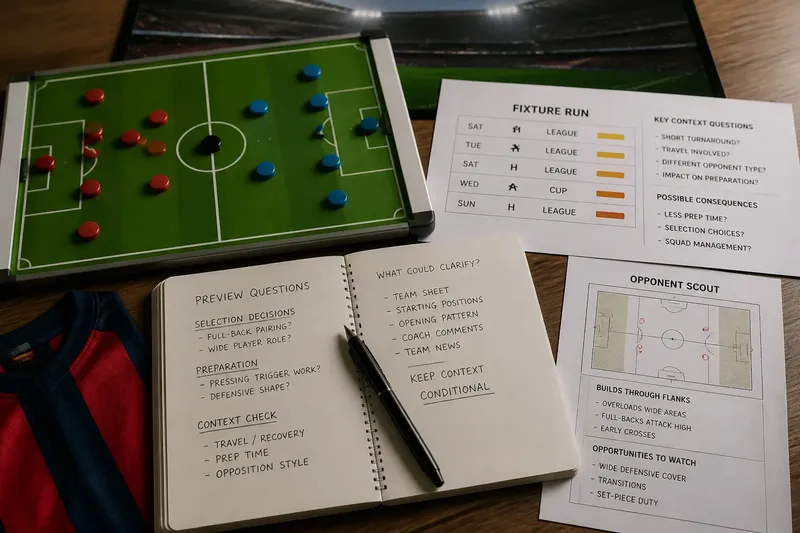
Formation numbers can hide a team's tactical choices. Read its roles and spacing to see how a midfield overload might create a route forward or leave a gap.
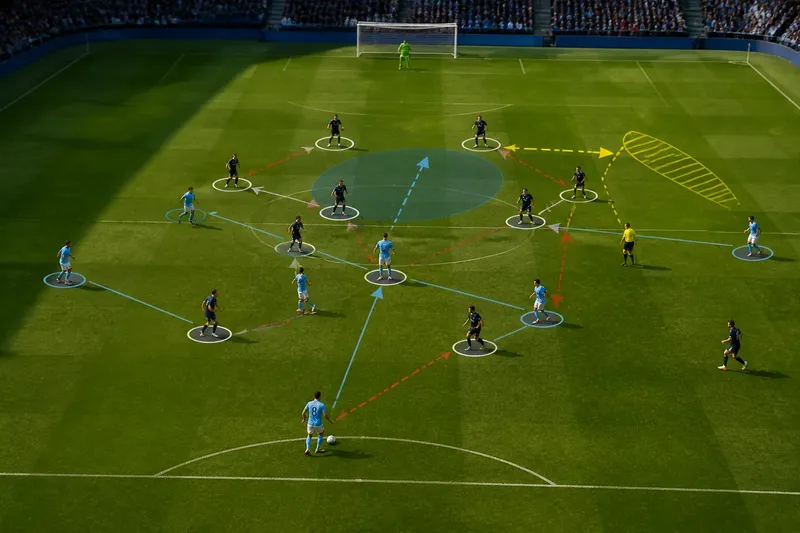
A formation number can conceal a team’s most consequential tactical choice: which player leaves a familiar role to create an extra option elsewhere. In a preview, formation analysis is most useful when it identifies that trade-off and the opponent’s likely response, rather than listing how a side changes shape in every phase.
Find the spare player
Start with a specific contest between units. Does a midfield trio face two central opponents? Can a centre-back step forward without leaving the striker free? Is a full-back likely to face an opposing winger alone? These questions reveal where one team might gain a spare player—and what it risks to do so.
Count the players in the relevant area, but do not stop at the numbers. A nominal three-against-two advantage matters only if the spare player can receive the ball facing forward or draw an opponent away from a useful lane. A crowded midfield may still favour the defending side if its players can block the passing angles.
Read the marking trade
When one player moves into a new zone, the opponent must choose whether to follow, pass the runner to a teammate or hold its position. Each response changes the next duel. A midfielder who follows a dropping striker may open space behind; if a centre-back follows instead, the defence may expose a channel at the back.
For a preview, make the choice explicit. Name the player who could move, the opponent who would have to react and the space that may become available. Avoid presenting the outcome as certain: the value of the movement depends on whether the receiver can exploit the opening and whether another defender can cover.
Test the tactical trade-offs
Use these observations to turn a formation label into a specific question about the match:
- Central numbers: If one side has an extra midfielder near the ball, then check whether that player can receive beyond the opponent’s first line; if not, assess whether a wide route offers a clearer exit.
- Striker support: If a striker drops towards midfield, then check whether a centre-back follows; if the centre-back holds position, expect the striker to face pressure from a midfielder instead.
- Wide isolation: If a full-back advances into an open lane, then check whether a teammate covers the space behind; if no one does, note the counter-attacking channel as a risk.
- Midfield cover: If a midfielder leaves the centre to help a flank, then check whether an opponent can receive centrally; if that lane remains screened, the shift may be a controlled trade.
- Second balls: If a side plays towards a forward under pressure, then check who is positioned for the loose ball; if its midfield is distant, the opponent may have the better chance to recover possession.
- Defensive handover: If a runner crosses between two defenders, then check whether they exchange responsibility; if neither takes the runner, identify the resulting route into the area.
Work through a matchup
Imagine, hypothetically, that a team’s named formation has three central midfielders facing an opponent with two. The starting input is a likely midfield overload, not proof of control. In the preview, ask whether the extra midfielder can receive behind the opponent’s forwards, whether one of those forwards can turn to press, and whether a covering defender must step out.
If the extra player receives facing forward, the team may be able to draw a defender towards the centre and then use the space that defender leaves. If the opponent’s forwards block the passing lane, the spare midfielder may be unable to influence play; the team may then need to use a wide pass instead. The resulting judgement is conditional: the midfield numbers offer a possible route through, but the opponent’s pressing positions decide whether that route is usable.
Questions about formation analysis?
What does a formation number tell me?
It gives a rough account of starting roles, but not how players will respond to a particular opponent. Use it to identify a matchup to examine, then describe the movement or marking decision that could alter it.
How do I identify a midfield overload?
Compare the players available around the ball and the passing lanes they can reach. An extra player matters when that player can receive or occupy an opponent, not simply because the team sheet lists more midfielders.
Can a numerical advantage still be ineffective?
Yes. Opponents can screen passes, pressure the receiver or cover the next option, leaving the extra player without a useful role. A preview should name those possible responses alongside the advantage.
What makes a tactical prediction useful?
It links a player’s likely action to an opponent’s decision and a visible consequence. State what would support the reading and what alternative outcome would weaken it.
Describe the decisive choice
Good formation analysis focuses on a matchup that can change the available options. Formation numbers are a useful index, but the sharper point is who may become free, who must respond and what space that response could leave behind.
For formation analysis, keep the prediction tied to observable decisions: whether a midfielder receives beyond pressure, whether a defender follows a runner and whether a teammate covers the vacated lane. That makes a preview specific without pretending a tactical plan can determine every next action.